
How to Download Ledger Live: A Step-by-Step Guide
Have you ever felt overwhelmed by the complexity of managing your cryptocurrency assets? I know I have. That's why I was thrilled when I discovered Ledger Live - a game-changing solution that simplifies the entire process.
But here's the catch: getting started with Ledger Live can be a bit daunting, especially if you're new to the crypto world. I remember feeling lost and frustrated when I first tried to download and set it up. That's why I've decided to share my experience and create this comprehensive guide. In the following sections, I'll walk you through everything you need to know about downloading Ledger Live, from understanding what it is to troubleshooting common issues. By the end of this post, you'll be ready to take control of your digital assets with confidence!
Understanding Ledger Live
What is Ledger Live?
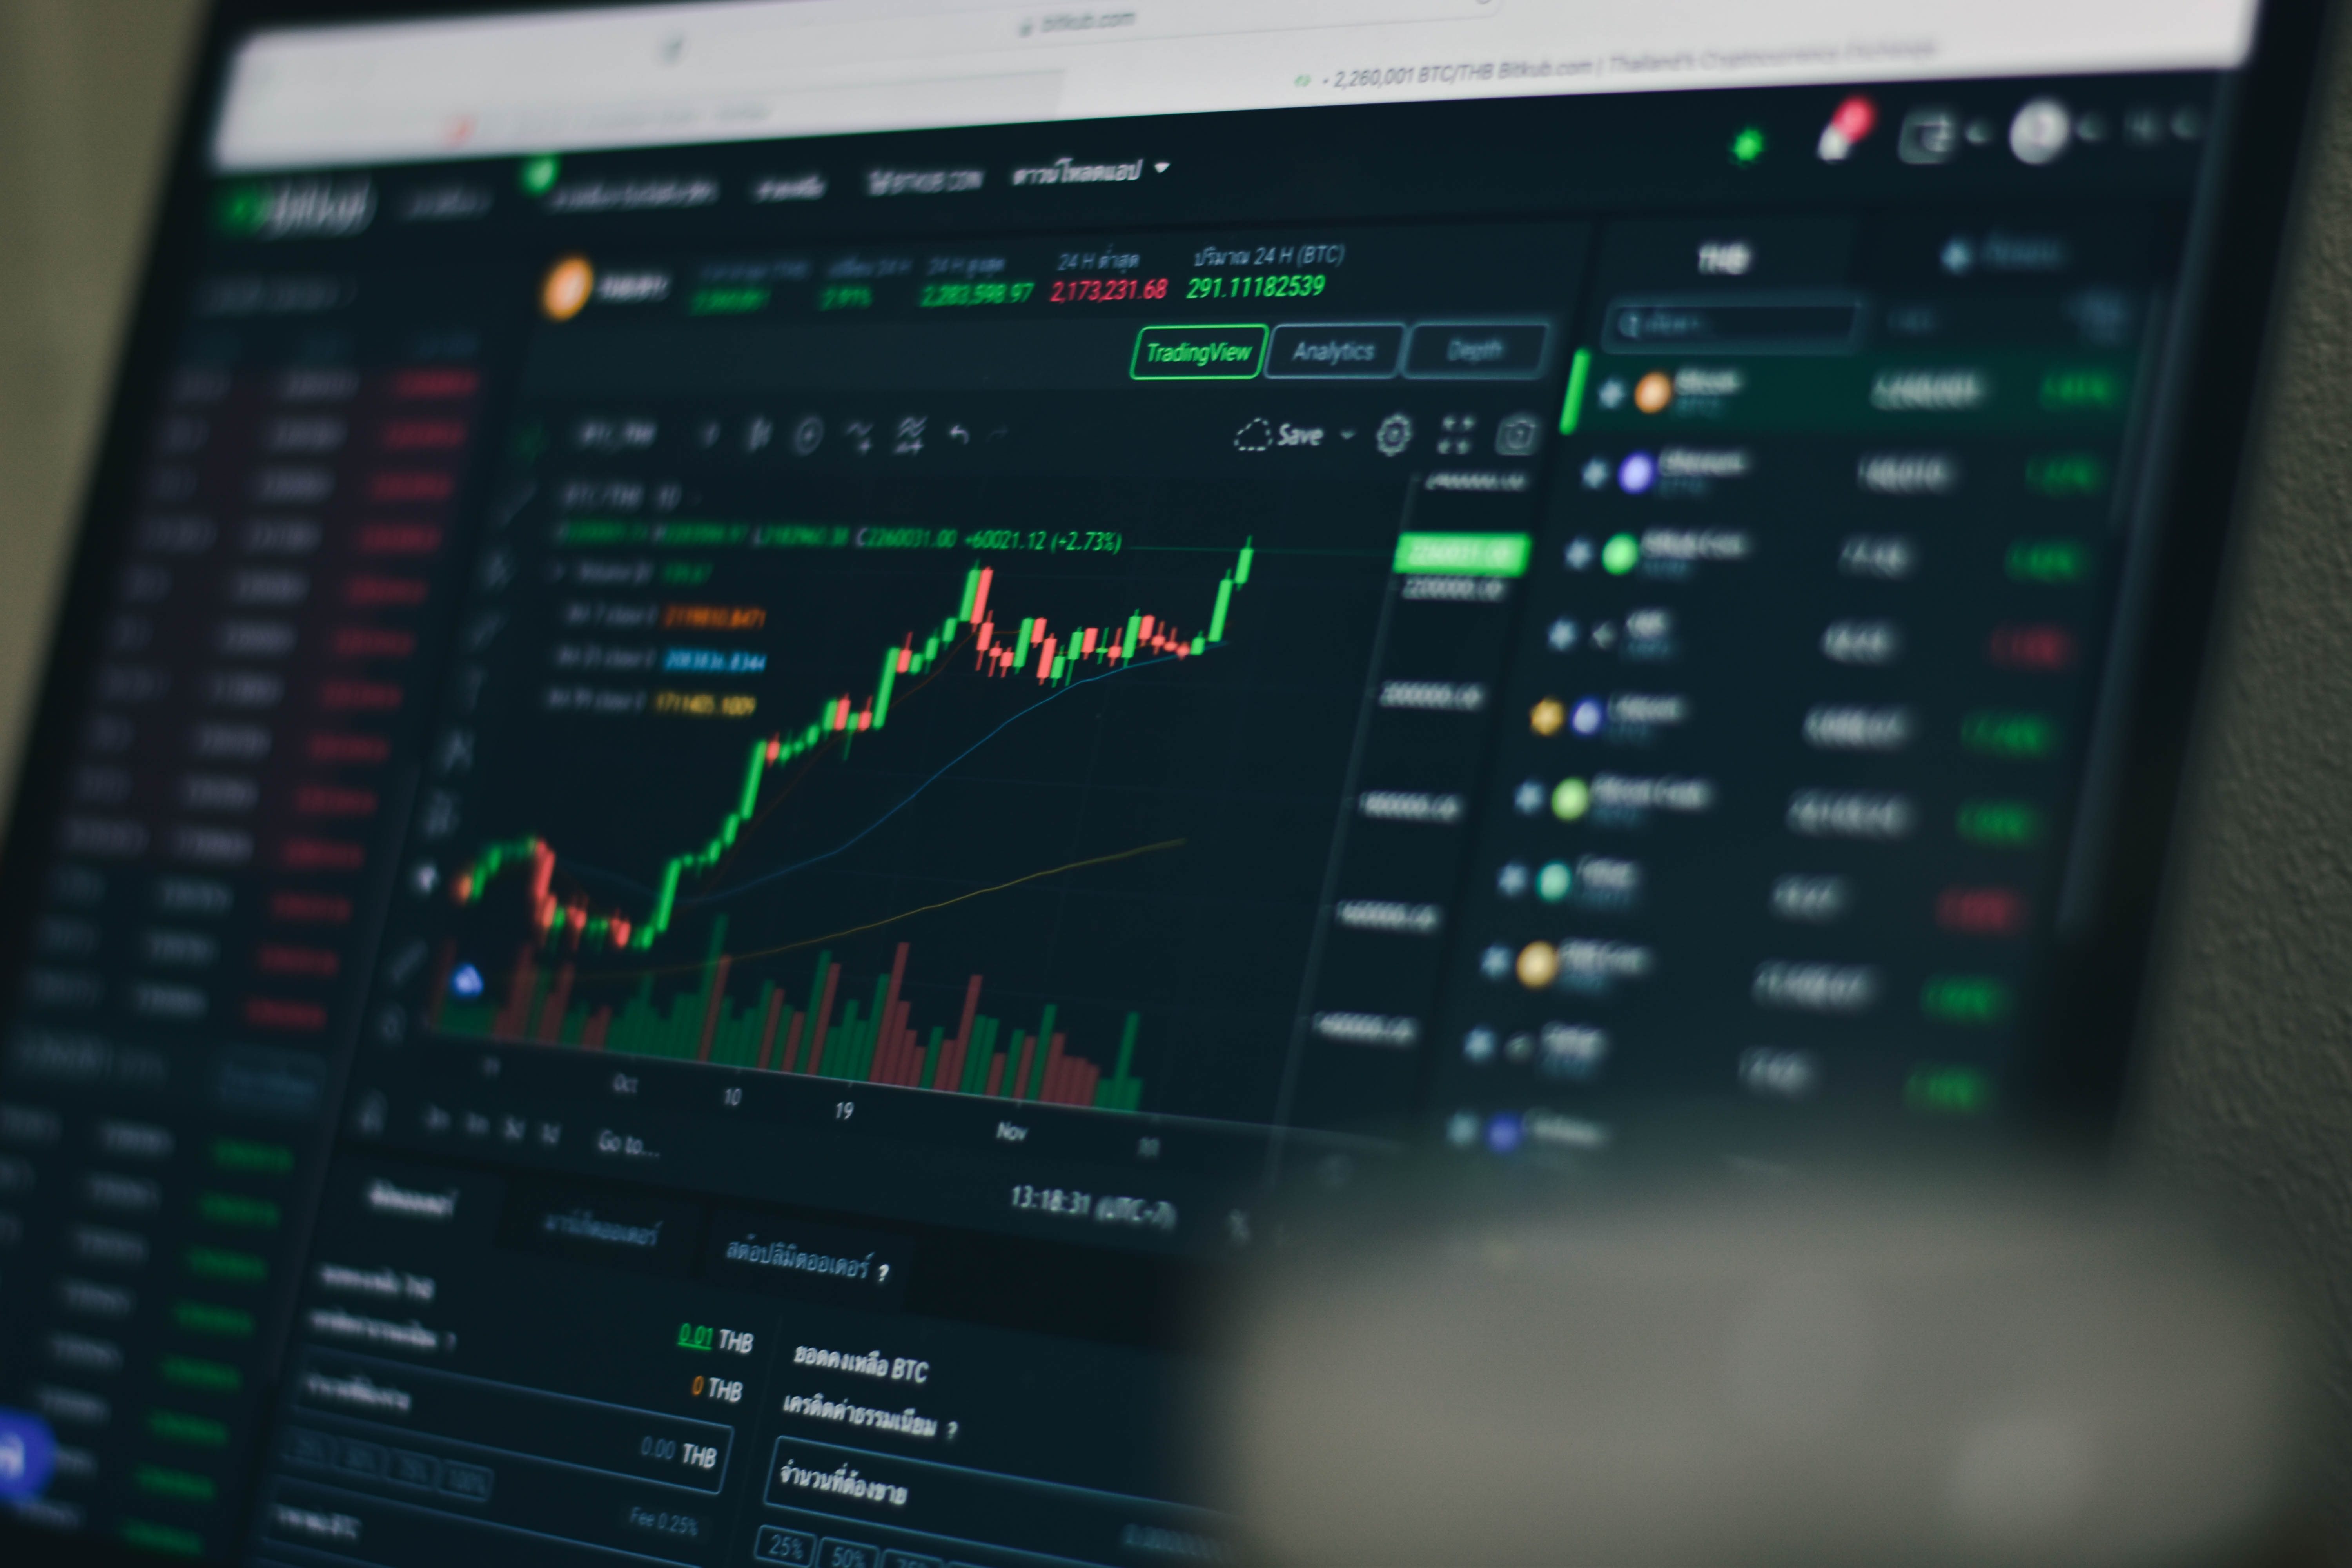
As a cryptocurrency enthusiast and Ledger user, I can tell you that Ledger Live is an essential companion application for your Ledger hardware wallet. It's a powerful, user-friendly software that serves as a bridge between your computer and your Ledger device. I use Ledger Live to manage my crypto assets, view my portfolio, and conduct transactions securely.
Ledger Live is available as both a desktop application for Windows, macOS, and Linux, and as a mobile app for iOS and Android devices. This versatility allows me to manage my crypto assets on the go or from the comfort of my home office. So whether you need to download Ledger Live app for mobile, or download Ledger Live desktop for your computer, you have options.
Benefits of using Ledger Live
I've found numerous advantages to using Ledger Live, which have significantly enhanced my crypto management experience:
-
Unified Asset Management: With Ledger Live, I can manage all my cryptocurrencies in one place. It supports a wide range of coins and tokens, making it convenient to track my entire portfolio.
-
Real-time Balance and Value: I always have an up-to-date view of my holdings and their current market value, which helps me make informed decisions.
-
Secure Transactions: When I want to send or receive crypto, Ledger Live facilitates the process while ensuring that my private keys never leave my Ledger device.
-
Easy Updates: The software keeps me informed about firmware updates for my Ledger device, ensuring I always have the latest security features. This is important because sometimes a Ledger Live download update can get stuck, and knowing how to troubleshoot that is important.
-
Buy and Swap Cryptocurrencies: I can purchase crypto directly through the app or swap between different assets, all while maintaining the security of my hardware wallet.
Compatibility with Ledger devices
One of the things I appreciate most about Ledger Live is its seamless compatibility with Ledger hardware wallets. It works flawlessly with both the Ledger Nano S and Ledger Nano X devices. This compatibility ensures that I can leverage the full potential of my hardware wallet while enjoying a user-friendly interface.
The software is designed to recognize your Ledger device instantly when connected, making the setup process a breeze. Whether I'm using my Ledger Nano S for long-term storage or my Nano X for on-the-go transactions, Ledger Live adapts to my needs.
Moreover, Ledger Live regularly updates its supported assets, meaning I can manage an ever-growing list of cryptocurrencies as the ecosystem expands. This forward-thinking approach ensures that my Ledger device remains a versatile tool for my crypto journey.
Now that we've covered what Ledger Live is, its benefits, and its compatibility with Ledger devices, let's move on to the next crucial step: preparing for the installation of this powerful software.
Preparing for Installation
System requirements
Before I dive into downloading Ledger Live, it's crucial to ensure my computer meets the necessary system requirements. Download Ledger Live for Windows users like me, I need at least Windows 8.1 (64-bit) or higher. If I want to download ledger live for Mac, I should have macOS 10.14 or later. Linux users require a 64-bit version of Ubuntu 16.04 LTS or later.
In terms of hardware, I need:
-
64-bit CPU (x86 or x64)
-
4 GB of RAM
-
At least 1 GB of free storage space
It's important to note that Ledger Live is not compatible with 32-bit operating systems, so I must ensure I'm running a 64-bit version.
Checking for available storage space
Now that I know the system requirements, I need to check if I have enough storage space. Here's how I can do this:
-
On Windows:
-
Open File Explorer
-
Right-click on my main drive (usually C:)
-
Select "Properties"
-
Check the available space under "Free space"
-
On macOS:
-
Click on the Apple menu
-
Select "About This Mac"
-
Click on "Storage" tab
-
View available space
-
On Linux:
-
Open Terminal
-
Type "df -h" and press Enter
-
Look for the available space in the "/home" directory
If I find that I don't have enough space, I should consider freeing up some storage by deleting unnecessary files or moving them to an external drive.
Backing up existing wallet data
Before installing Ledger Live, it's crucial that I back up any existing cryptocurrency wallet data. This step is vital to prevent any potential loss of funds or important information during the installation process.
Here's how I can back up my wallet data:
-
Locate my current wallet files
-
Copy these files to a secure external storage device
-
Verify that the backup is complete and accessible
For added security, I might consider encrypting my backup files. This extra layer of protection ensures that even if someone gains access to my backup, they won't be able to read the sensitive information without the encryption key.
Now that I've checked my system requirements, ensured I have enough storage space, and backed up my existing wallet data, I'm ready to move on to the next step: downloading Ledger Live. This preparation will help ensure a smooth installation process and give me peace of mind knowing my data is safe.
Downloading Ledger Live
Locating the official Ledger website
When it comes to downloading Ledger Live, I always emphasize the importance of using the official source. To begin, I open my preferred web browser and type "ledger.com" into the address bar. This takes me directly to the official Ledger website, where I can be confident I'm getting the genuine software. This is the safest way to download Ledger Live app, download Ledger Live desktop, download Ledger Live for Mac, download Ledger Live Mac, download Ledger Live windows, and addresses how to download Ledger Live.
Once on the site, I navigate to the "Downloads" section, which is usually easy to find in the main menu or footer. It's crucial to double-check the URL to ensure I'm still on the official Ledger domain before proceeding.
Choosing the correct version for your operating system
After reaching the downloads page, I'm presented with options for different operating systems. Here's how I choose the right version:
-
For Windows: I look for the .exe file specifically designed for Windows. This is how to Ledger Live download Windows. You might also see it referred to as the Ledger Live Windows download.
-
For macOS: I search for the .dmg file compatible with Mac computers. This is the Ledger Live Mac download and how to download Ledger Live on macbook. You may also see it referred to as download Ledger Live Mac.
-
For Linux: I find the appropriate package for my Linux distribution.
It's essential to select the version that matches my computer's architecture (32-bit or 64-bit). Most modern systems use 64-bit, but I always verify to be sure.
Verifying the download source for security
Security is paramount when dealing with cryptocurrency software. Here's my process for verifying the download:
-
I check for HTTPS in the website's URL to ensure a secure connection.
-
I look for the download's hash or checksum provided on the official site. This relates to the Ledger Live download signatures.
-
After downloading, I use a hash verification tool to compare the file's hash with the one provided by Ledger.
-
I also verify the PGP signature if available, using Ledger's public key.
By following these steps, I significantly reduce the risk of downloading compromised software. Remember, cryptocurrency management requires utmost caution, and verifying downloads is a crucial part of that process.
Now that I've safely downloaded the correct version of Ledger Live for my system, I'm ready to move on to the installation process. This next step will involve running the downloaded file and following the setup wizard to get Ledger Live up and running on my computer. This also addresses how to download Ledger Live. Whether you're looking for Ledger Live download desktop, Ledger Live update download, or trying to figure out how to download Ledger Live on Chromebook, the principles of secure download
Installation Process
Running the installation file
Now that you've successfully downloaded Ledger Live, it's time to install it on your device. I'll guide you through the process, starting with running the installation file.
For Windows users, locate the downloaded .exe file in your Downloads folder or wherever you saved it. Double-click on the file to start the installation process. If you see a security warning, don't worry – it's normal. Click "Run" to proceed.
Mac users, you'll find a .dmg file. Double-click it, and you'll see the Ledger Live icon. Simply drag this icon to your Applications folder to install.
Following the setup wizard
Once you've initiated the installation, a setup wizard will appear to guide you through the process. Here's what to expect:
-
Welcome screen: Click "Next" to begin.
-
License Agreement: Read it carefully and select "I accept" if you agree.
-
Choose installation location: I recommend using the default unless you have a specific reason to change it.
-
Select additional tasks: You may be asked if you want to create desktop shortcuts or start menu folders.
Customizing installation options
During the installation, you might encounter some customization options. While the default settings work well for most users, I always take a moment to review them. Here are some options you might see:
-
Auto-updates: I usually leave this enabled to ensure I always have the latest security features.
-
Data collection: You can choose whether to share anonymous usage data with Ledger.
-
Desktop shortcut: I find this handy for quick access.
Remember, you can always change these settings later in the app preferences.
Completing the installation
We're almost there! The final steps of the installation process are crucial:
-
Click "Install" to begin the actual installation.
-
Wait for the progress bar to complete – this usually takes a minute or two.
-
Once finished, you'll see a "Completion" screen.
-
I always recommend selecting "Launch Ledger Live" before clicking "Finish."
And there you have it! Ledger Live is now installed on your device. The application should open automatically if you selected that option. If not, you can find it in your Start menu (Windows) or Applications folder (Mac).
With the installation complete, we're ready to move on to setting up Ledger Live and connecting your hardware wallet. This is where the real excitement begins, as you'll soon be able to manage your crypto assets with enhanced security and convenience.
Setting Up Ledger Live
Creating a new account
Now that you've successfully installed Ledger Live, it's time to set it up. The first step is creating a new account. When I open Ledger Live for the first time, I'm greeted with a welcome screen. I click on "Get started" and then select "Create a new account." I'm asked to choose a password to secure my Ledger Live application. This password is crucial for protecting my assets, so I make sure to create a strong, unique password that I haven't used elsewhere.
Connecting your Ledger device
With my account created, the next step is connecting my Ledger device. I ensure my device is turned on and unlocked. Then, I use the USB cable that came with my Ledger to connect it to my computer. Ledger Live should automatically detect my device. If it doesn't, I might need to click on a "Connect device" button or troubleshoot the connection.
Updating firmware (if necessary)
Once my Ledger device is connected, Ledger Live checks if there are any firmware updates available. Keeping the firmware up-to-date is crucial for security and functionality. If an update is available, I follow these steps:
-
Click on the "Update" button in Ledger Live
-
Follow the on-screen instructions
-
Confirm the update on my Ledger device
-
Wait for the update to complete (this may take a few minutes)
-
Reconnect my device once the update is finished
It's important not to disconnect my device during the update process to avoid any issues.
Adding cryptocurrency accounts
With my device connected and up-to-date, I'm ready to add cryptocurrency accounts. Here's how I do it:
-
Click on the "Add account" button in Ledger Live
-
Select the cryptocurrency I want to add
-
Choose the derivation path (if applicable)
-
Let Ledger Live synchronize with the blockchain
-
Confirm the account details and click "Add account"
I can repeat this process for each cryptocurrency I want to manage through Ledger Live. It's worth noting that I need to install the corresponding cryptocurrency app on my Ledger device before adding an account in Ledger Live.
As I set up my accounts, I'm always mindful of security. I double-check addresses when sending or receiving crypto, and I never share my recovery phrase or private keys with anyone. With my Ledger Live now set up and my accounts added, I'm ready to start managing my cryptocurrencies securely. In the next section, we'll look at some common issues that might arise and how to troubleshoot them.
Troubleshooting Common Issues
Connection problems
When it comes to troubleshooting Ledger Live, connection problems are often the first hurdle users face. I've encountered this issue myself, and I know how frustrating it can be. Here are some steps I always follow to resolve connection issues:
-
Check USB connection: I make sure the USB cable is securely connected to both my Ledger device and computer. Sometimes, a loose connection can cause problems.
-
Try different USB ports: If the first port doesn't work, I switch to another. I've found that some ports can be finicky, especially on older computers.
-
Restart Ledger Live: Often, a simple restart of the application can resolve connection issues. I close Ledger Live completely and reopen it.
-
Update firmware: I ensure my Ledger device's firmware is up-to-date. Outdated firmware can sometimes cause connection problems.
Update failures
Update failures can be particularly annoying, especially when you're eager to use new features. Here's what I do when I face update issues:
-
Check internet connection: A stable internet connection is crucial for updates. I always make sure I'm connected to a reliable network.
-
Clear cache: Sometimes, clearing the Ledger Live cache can resolve update issues. I navigate to the settings and clear the cache before attempting the update again.
-
Reinstall Ledger Live: If all else fails, I uninstall and reinstall Ledger Live. This often resolves persistent update problems.
Account synchronization errors
Account synchronization errors can be concerning, but I've found they're usually easy to fix. Here's my approach:
-
Check network status: I ensure my internet connection is stable and that there are no known issues with the Ledger network.
-
Clear cache: Similar to update issues, clearing the cache can often resolve synchronization problems.
-
Re-add accounts: If specific accounts aren't syncing, I remove and re-add them in Ledger Live.
-
Update Ledger Live: I make sure I'm running the latest version of Ledger Live, as older versions can sometimes have synchronization issues.
By following these steps, I've been able to resolve most common issues I've encountered with Ledger Live. If problems persist, I don't hesitate to reach out to Ledger's support team. They've been incredibly helpful in the past, providing guidance on more complex issues. With these troubleshooting tips in mind, let's move on to ensuring the security of your Ledger device and Ledger Live application.
Ensuring Security
Enabling two-factor authentication
Now that you've set up Ledger Live, it's crucial to focus on security. I always tell my clients that enabling two-factor authentication (2FA) is a non-negotiable step in protecting their crypto assets. With 2FA, I add an extra layer of security to my Ledger Live account, making it significantly harder for unauthorized users to gain access.
To enable 2FA in Ledger Live, I follow these steps:
-
Open Ledger Live and go to the Settings menu
-
Select the "Security" tab
-
Find the "Two-Factor Authentication" option and toggle it on
-
Choose my preferred 2FA method (usually an authenticator app)
-
Follow the on-screen instructions to complete the setup
Remember, once 2FA is enabled, I'll need both my password and a second form of verification (like a code from my authenticator app) to log in. It's a small inconvenience for a huge boost in security.
Creating a strong password
After setting up 2FA, I always make sure to create a strong, unique password for my Ledger Live account. Here are my top tips for creating a robust password:
-
Use a combination of uppercase and lowercase letters, numbers, and special characters
-
Make it at least 12 characters long
-
Avoid using personal information or common words
-
Use a different password for each of my accounts
-
Consider using a password manager to generate and store complex passwords securely
I can't stress enough how important a strong password is. It's your first line of defense against potential hackers and unauthorized access attempts.
Keeping your recovery phrase safe
The recovery phrase is arguably the most critical piece of information for any crypto wallet user. I treat my recovery phrase like the keys to my house – with utmost care and secrecy. Here's how I ensure my recovery phrase remains safe:
-
Write it down on paper – never store it digitally
-
Double-check each word for accuracy
-
Store it in a secure, fireproof location
-
Consider using a metal backup for added durability
-
Never share it with anyone, not even Ledger support
I always remind myself that if someone gets access to my recovery phrase, they essentially have full control over my crypto assets. That's why I take these precautions so seriously.
By implementing these security measures – enabling 2FA, creating a strong password, and safeguarding my recovery phrase – I significantly reduce the risk of unauthorized access to my Ledger Live account and my valuable crypto assets. Remember, in the world of cryptocurrency, you are your own bank, so taking these security steps is absolutely essential.
FAQ
My Ledger Live download update is stuck. What should I do?
A stuck Ledger Live download update can be frustrating. First, ensure you have a stable internet connection. Try pausing and resuming the download. If that doesn't work, close Ledger Live completely and reopen it. You can also try clearing the Ledger Live cache (usually found in the app's settings). As a last resort, you can uninstall Ledger Live and then perform a fresh install by downloading the latest version. Make sure you are downloading from the official Ledger website to get the most recent version.
I'm trying to download Ledger Live on Macbook. What's the process, and is there a specific Ledger Live Mac download?
To download Ledger Live on your Macbook, go to the official Ledger website. Navigate to the "Downloads" section. You'll find options for different operating systems. Choose the .dmg file, which is the correct file type for macOS. This is your Ledger Live Mac download, and it's how you download Ledger Live for Mac. Double-click the .dmg file, and then drag the Ledger Live icon to your Applications folder to complete the installation.
I see references to a Ledger Live Manager download. What is that, and do I need it?
The Ledger Live Manager was a feature of older versions of Ledger Live. It's no longer a separate download. The functionality of the Ledger Live Manager is now integrated directly into the Ledger Live application itself. So, if you're using a current version of Ledger Live, you don't need to worry about a separate Ledger Live manager download. Just ensure you have the latest version of Ledger Live.
I'm trying to download Ledger Live, but my antivirus software is flagging it. Is it safe?
Reputable antivirus software can sometimes flag legitimate software, especially if it's less common. However, you should never ignore antivirus warnings completely. First, ensure you downloaded Ledger Live from the official Ledger website. If you did, it's likely a false positive. You can temporarily disable your antivirus to complete the installation, but immediately re-enable it afterward. If you're still unsure, you can check online forums or contact Ledger support to see if others have experienced the same issue. Again, confirming you used the official download Ledger Live windows or download Ledger Live Mac source is crucial.
Is there a specific version of Ledger Live I need to download for my Ledger Nano S or Nano X?
No, there's a single Ledger Live application that works with both the Ledger Nano S and Nano X. You don't need separate downloads. When you download Ledger Live (whether it's the download Ledger Live windows version or the download Ledger Live Mac version), that single application will interface with either device.